Furniture transfers rub on are an innovative and accessible way to breathe new life into your furniture. Whether you’re an experienced DIYer or a novice looking to enhance your home decor, rub-on transfers provide an effortless and creative solution. This guide covers everything you need to know about furniture transfers rub on, from understanding their purpose to mastering advanced techniques for unique finishes.
What Are Furniture Transfers Rub On?
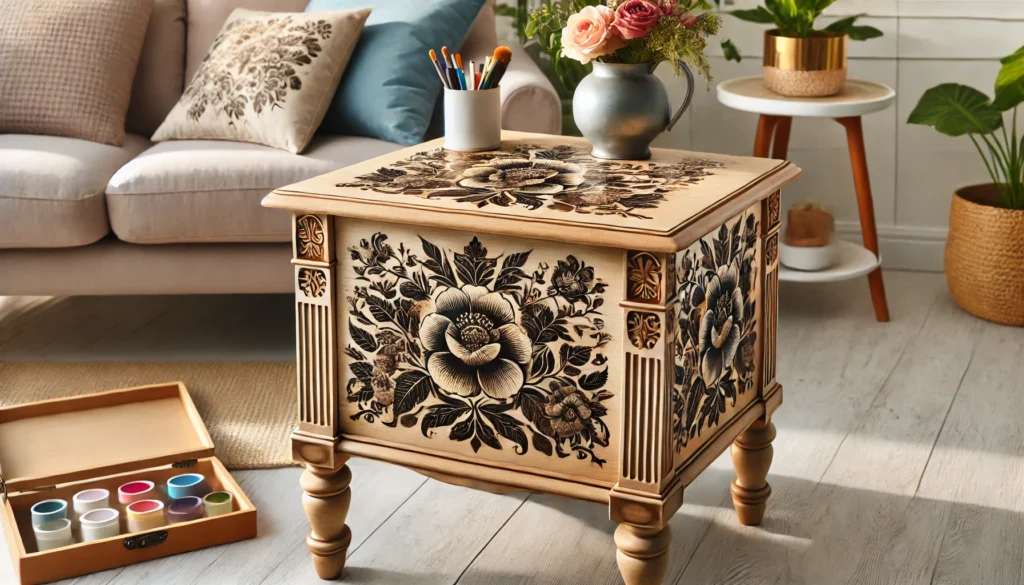
Furniture transfers rub on are decorative decals designed to adhere to various surfaces such as wood, metal, glass, and even fabric. Unlike traditional decals, rub-on transfers give the appearance of hand-painted designs and can seamlessly blend into the furniture surface. These transfers allow you to achieve professional results without requiring advanced artistic skills or expensive tools.
Benefits of Furniture Transfers Rub On
- Ease of Use: Ideal for beginners.
- Cost-Effective: A budget-friendly alternative to repainting or reupholstering.
- Customizable: Available in countless designs, from vintage to modern.
- Durable: With proper sealing, the designs can last for years.
Types of Furniture Transfers Rub On
Pre-Made Designs
Pre-made transfers come in a variety of styles and themes, including floral patterns, geometric designs, and typography. These are perfect for quick and straightforward projects.
Customizable Transfers
Some manufacturers offer the option to create personalized rub-on transfers. These are excellent for adding a unique touch to your furniture, such as monograms or custom logos.
Thematic Categories
- Vintage: Perfect for shabby-chic or antique furniture.
- Floral: Ideal for feminine, romantic aesthetics.
- Contemporary: Geometric and abstract patterns for modern decor.
Materials and Tools Required
To ensure the success of your project, gather the following materials:
| Material | Purpose |
| Rub-On Transfer Sheets | The decorative element |
| Burnishing Tool | Ensures a smooth transfer |
| Tape | Holds the design in place |
| Sealant | Protects and seals the design |
| Scissors | For trimming excess designs |
Optional tools such as rulers and sanding blocks can help achieve precise and polished results.
How to Prepare the Surface for Rub-On Transfers
Preparing your furniture surface is a crucial step. Follow these steps:
- Clean the Surface: Use a damp cloth to remove dust, grease, or old paint residue. Let it dry thoroughly.
- Sand if Necessary: Lightly sand the surface to ensure better adhesion, especially on glossy furniture.
- Prime the Area: Apply a primer for porous surfaces like wood to achieve an even base.
Step-by-Step Guide to Applying Furniture Transfers Rub On
- Plan the Layout: Before you start, position the transfer sheet on the desired area and secure it with tape. This ensures accuracy and prevents shifting.
- Cut and Adjust: Trim the transfer if necessary, especially for edges or smaller sections.
- Rub the Transfer: Use a burnishing tool or similar object to apply firm, even pressure on the back of the transfer. Work slowly to ensure all areas adhere.
- Peel the Backing: Carefully remove the backing sheet. If part of the design is not fully adhered, place it back and rub over it again.
- Seal the Design: Apply a clear sealant like polyurethane or a matte varnish to protect the transfer from wear and tear.
Creative Project Ideas Using Furniture Transfers Rub On
Revamping Old Furniture
Transform a scratched or dull coffee table with bold geometric designs. Choose a transfer that complements your existing decor for a cohesive look.
Creating Statement Pieces
Apply a vintage floral transfer to a plain wardrobe, instantly turning it into a statement piece for your bedroom.
Mixed Media Creations
Combine transfers with paint or stenciling for a layered, artistic effect. This technique works well on both large and small furniture items.
Advanced Techniques for Experts
Layering Transfers
Overlap multiple transfers to create depth and complexity. For instance, combine floral designs with subtle text patterns.
Distressing Techniques
Use sandpaper to gently distress the transfer edges, giving your furniture a vintage, weathered look.
Mixed Media Integration
Experiment with other materials, like decoupage or metallic paints, to complement the transfers and achieve a truly one-of-a-kind finish.
FAQs About Furniture Transfers Rub On
Can furniture transfers rub on be used outdoors?
Furniture transfers are primarily designed for indoor use. However, with the application of a weather-resistant sealant, they can be used on outdoor furniture in sheltered areas.
What should I do if my transfer tears during application?
If a transfer tears, carefully align the torn section and continue rubbing to adhere it to the surface. Minor imperfections can often be blended seamlessly.
Can I use rub-on transfers on curved surfaces?
Yes, transfers can be applied to curved surfaces with extra care. Make small cuts along the edges to allow the transfer to conform to the curves more easily.
Are furniture transfers permanent?
While not entirely permanent, transfers can last for years if properly sealed and maintained. However, they can be removed with effort if desired.
How can I protect the transfer from scratches or peeling?
Applying multiple coats of sealant or varnish can protect the transfer and ensure it withstands regular use without peeling or scratching.
Conclusion
Furniture transfers rub on offer a versatile and easy way to upcycle and personalize your furniture. Whether you choose pre-made designs or experiment with layering techniques, the possibilities are endless. By following this guide, you’ll be well-equipped to create stunning pieces that look professionally crafted. Start your next project today and let your creativity shine!
Recommended Articles
The Ultimate Guide to Nattienut9
The Ultimate Guide to the 2024 Segway Powersports Villain SX10 S Stock
Ultimate Guide to Makamove4Mee: Revolutionizing Digital Marketing
The Ultimate Guide to Sublimation Tree Skirts: Design, Process, and Personalization
Ship Shape Pressure Wash: A Comprehensive Guide